Connections
Meshtastic supports multiple transport methods to communicate between your phone/desktop and a radio node.
Bluetooth (BLE)
Bluetooth Low Energy is the default and most common connection method on Android.
Pairing a Device
- Ensure your Meshtastic radio is powered on and in pairing mode.
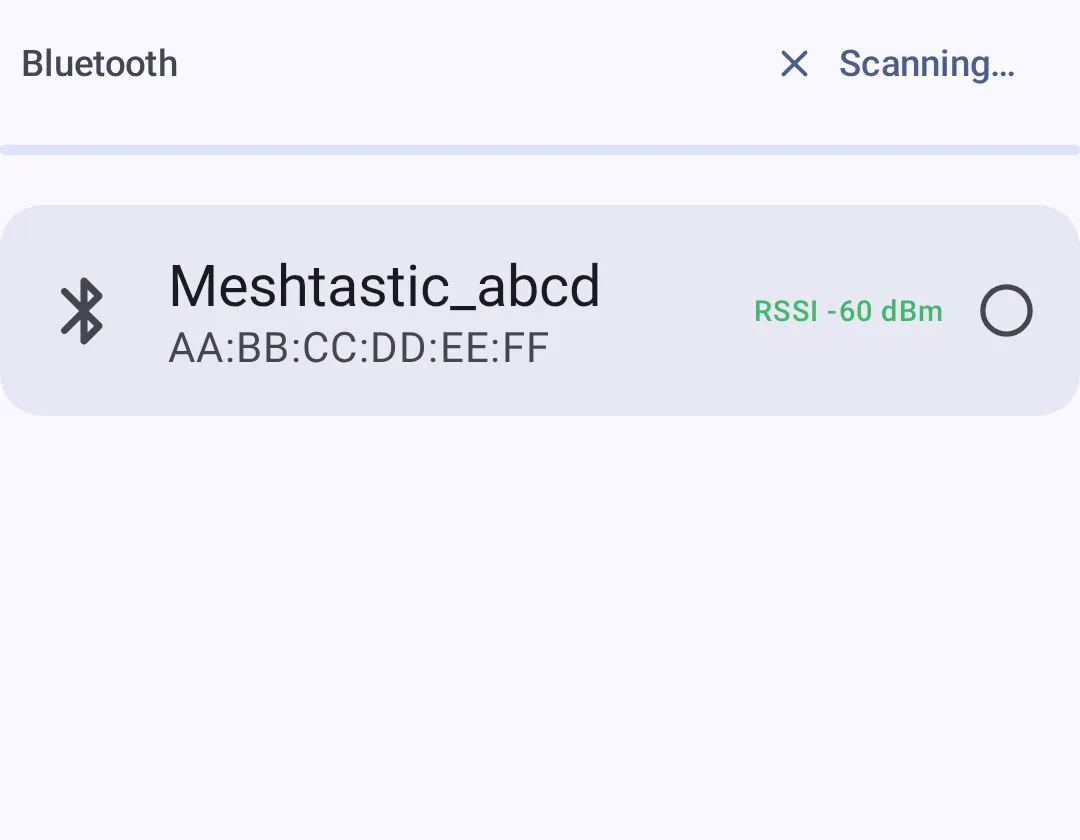
- Open the app and navigate to the Connect tab.
- Tap Scan for Devices — nearby Meshtastic radios will appear.
- Select your device from the list.
- Accept the Bluetooth pairing prompt if shown.
You can filter devices by transport type using the filter chips at the top:

💡 Tip: If your device doesn't appear, check that Bluetooth and Location permissions are granted, and that the radio is not already connected to another device.
Connection Status
| Icon | State | Description |
|---|---|---|
| 🟢 | Connected | Active radio link established |
| 🟡 | Connecting | Handshake in progress |
| 🔴 | Disconnected | No active connection |
| ⚪ | Not configured | No device selected |
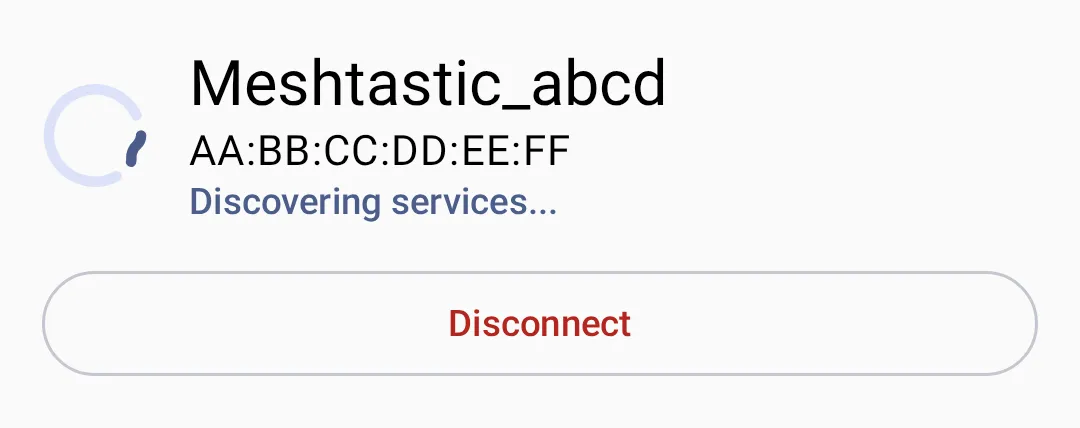
When connecting, a status indicator shows the current connection state:
If no devices are found, the app shows an empty state with instructions:

Troubleshooting Bluetooth
- Device not found: Toggle Bluetooth off/on, ensure location is enabled.
- Connection drops: Move closer to the radio; check for interference.
- Pairing rejected: Forget the device in Android Bluetooth settings and retry.
USB Serial
USB connections provide a wired alternative, useful for desktop or when Bluetooth is unavailable.
Setup
- Connect your radio via USB cable to your device.
- The app will prompt for USB permission — tap Allow.
- The connection is established automatically.
⚠️ Note: USB connections require OTG support on Android devices.
TCP/IP (Network)
Some Meshtastic radios support WiFi/Ethernet connectivity, allowing TCP-based connections over your local network. Get the radio onto your network first — using the radio's own WiFi settings (via the firmware web interface or another connection) — then connect to it from the app.
Connecting over the Network
- Make sure the radio is on the same local network as your phone/desktop.
- On the Connect screen, select the Network transport filter.
- Choose the radio one of two ways:
- Scan Network Devices — toggle this on to auto-discover radios that advertise themselves on the local network (mDNS /
_meshtastic._tcp). Discovered devices appear in the list; tap one to connect. - Add Network Device Manually — enter the radio's IP address (or hostname) and port (default:
4403).
- Scan Network Devices — toggle this on to auto-discover radios that advertise themselves on the local network (mDNS /
- Previously-used network addresses are remembered under Recent Network Devices for quick reconnection (long-press to remove one).
💡 Tip: Network discovery uses mDNS, which only works when both devices are on the same subnet. On Android 17+ the app needs the local-network permission for scanning; if discovery finds nothing, add the device manually by IP.
When to Use TCP
- Radio is on the same local network
- Testing with a simulated radio
- Environments where Bluetooth has interference issues
Reconnection Behavior
The app reconnects to the last selected device on startup. You can switch transports from the Connect screen at any time.
To disconnect, tap the disconnect button on the Connect screen:

Desktop Connections
On Desktop (Linux/macOS/Windows), the app supports:
- Bluetooth (BLE) — via the Kable library; works on macOS, Linux, and Windows
- USB Serial — primary wired connection method
- TCP/IP — for network-connected radios
See Desktop App for platform-specific details and keyboard shortcuts.
Related Topics
- Getting Started — first-launch setup and permissions
- Settings — Radio & User — Bluetooth and network configuration
- Desktop App — desktop-specific connection details
- Supported devices — full list of compatible radios on meshtastic.org