Flashing with an External Serial Adapter
This information will likely only be helpful if you've already attempted to go through the prerequisites and processes outlined in manually flashing
Make sure not to power the radio on without first attaching the antenna! You could damage the radio chip!
Background
Situations that may require using an external USBUSB (Universal Serial Bus). The wired connection used to power a device, flash firmware onto it, and communicate with it over serial. to Serial Adapter:
- Due to the chip shortage, recently purchased devices such as the TTGO T-Beam may come with legacy or non-standard USBUSB (Universal Serial Bus). The wired connection used to power a device, flash firmware onto it, and communicate with it over serial. to Serial adapter chips that are unreliable in some cases.
- Certain devices might have defective USBUSB (Universal Serial Bus). The wired connection used to power a device, flash firmware onto it, and communicate with it over serial. to Serial chip.
- Certain devices, such as the Hydra (Meshtastic-DIY target).
USB Serial Adapters
There are many options on the marketplace. It is recommended to purchase an adapter featuring the Silicon Labs CP2102 chip, as it is a reliable industry standard.
The adapter featured in this document can be purchased from: https://www.amazon.com/gp/product/B078W5L8W1/
Plug the adapter into your computer without connecting it to any devices yet. Ensure that your computer has drivers installed for the adapter. On Windows, the correct drivers should install automatically.
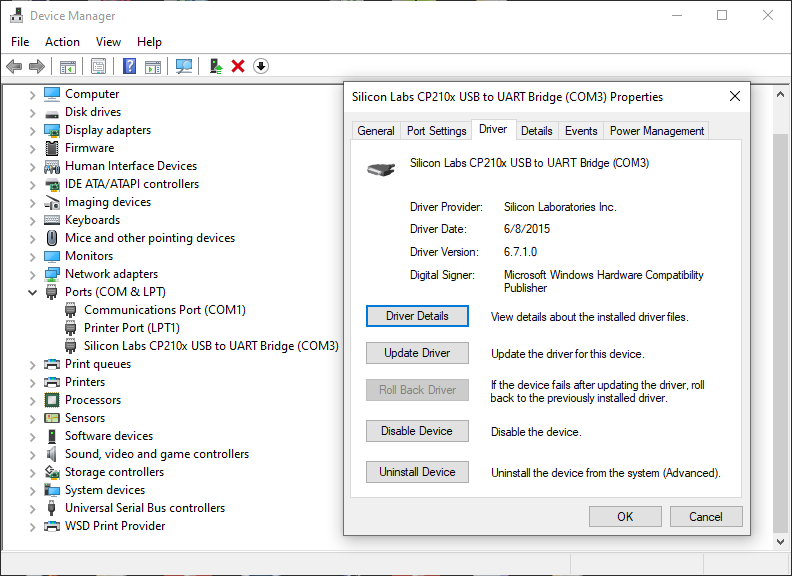
Connecting Adapter to the Device
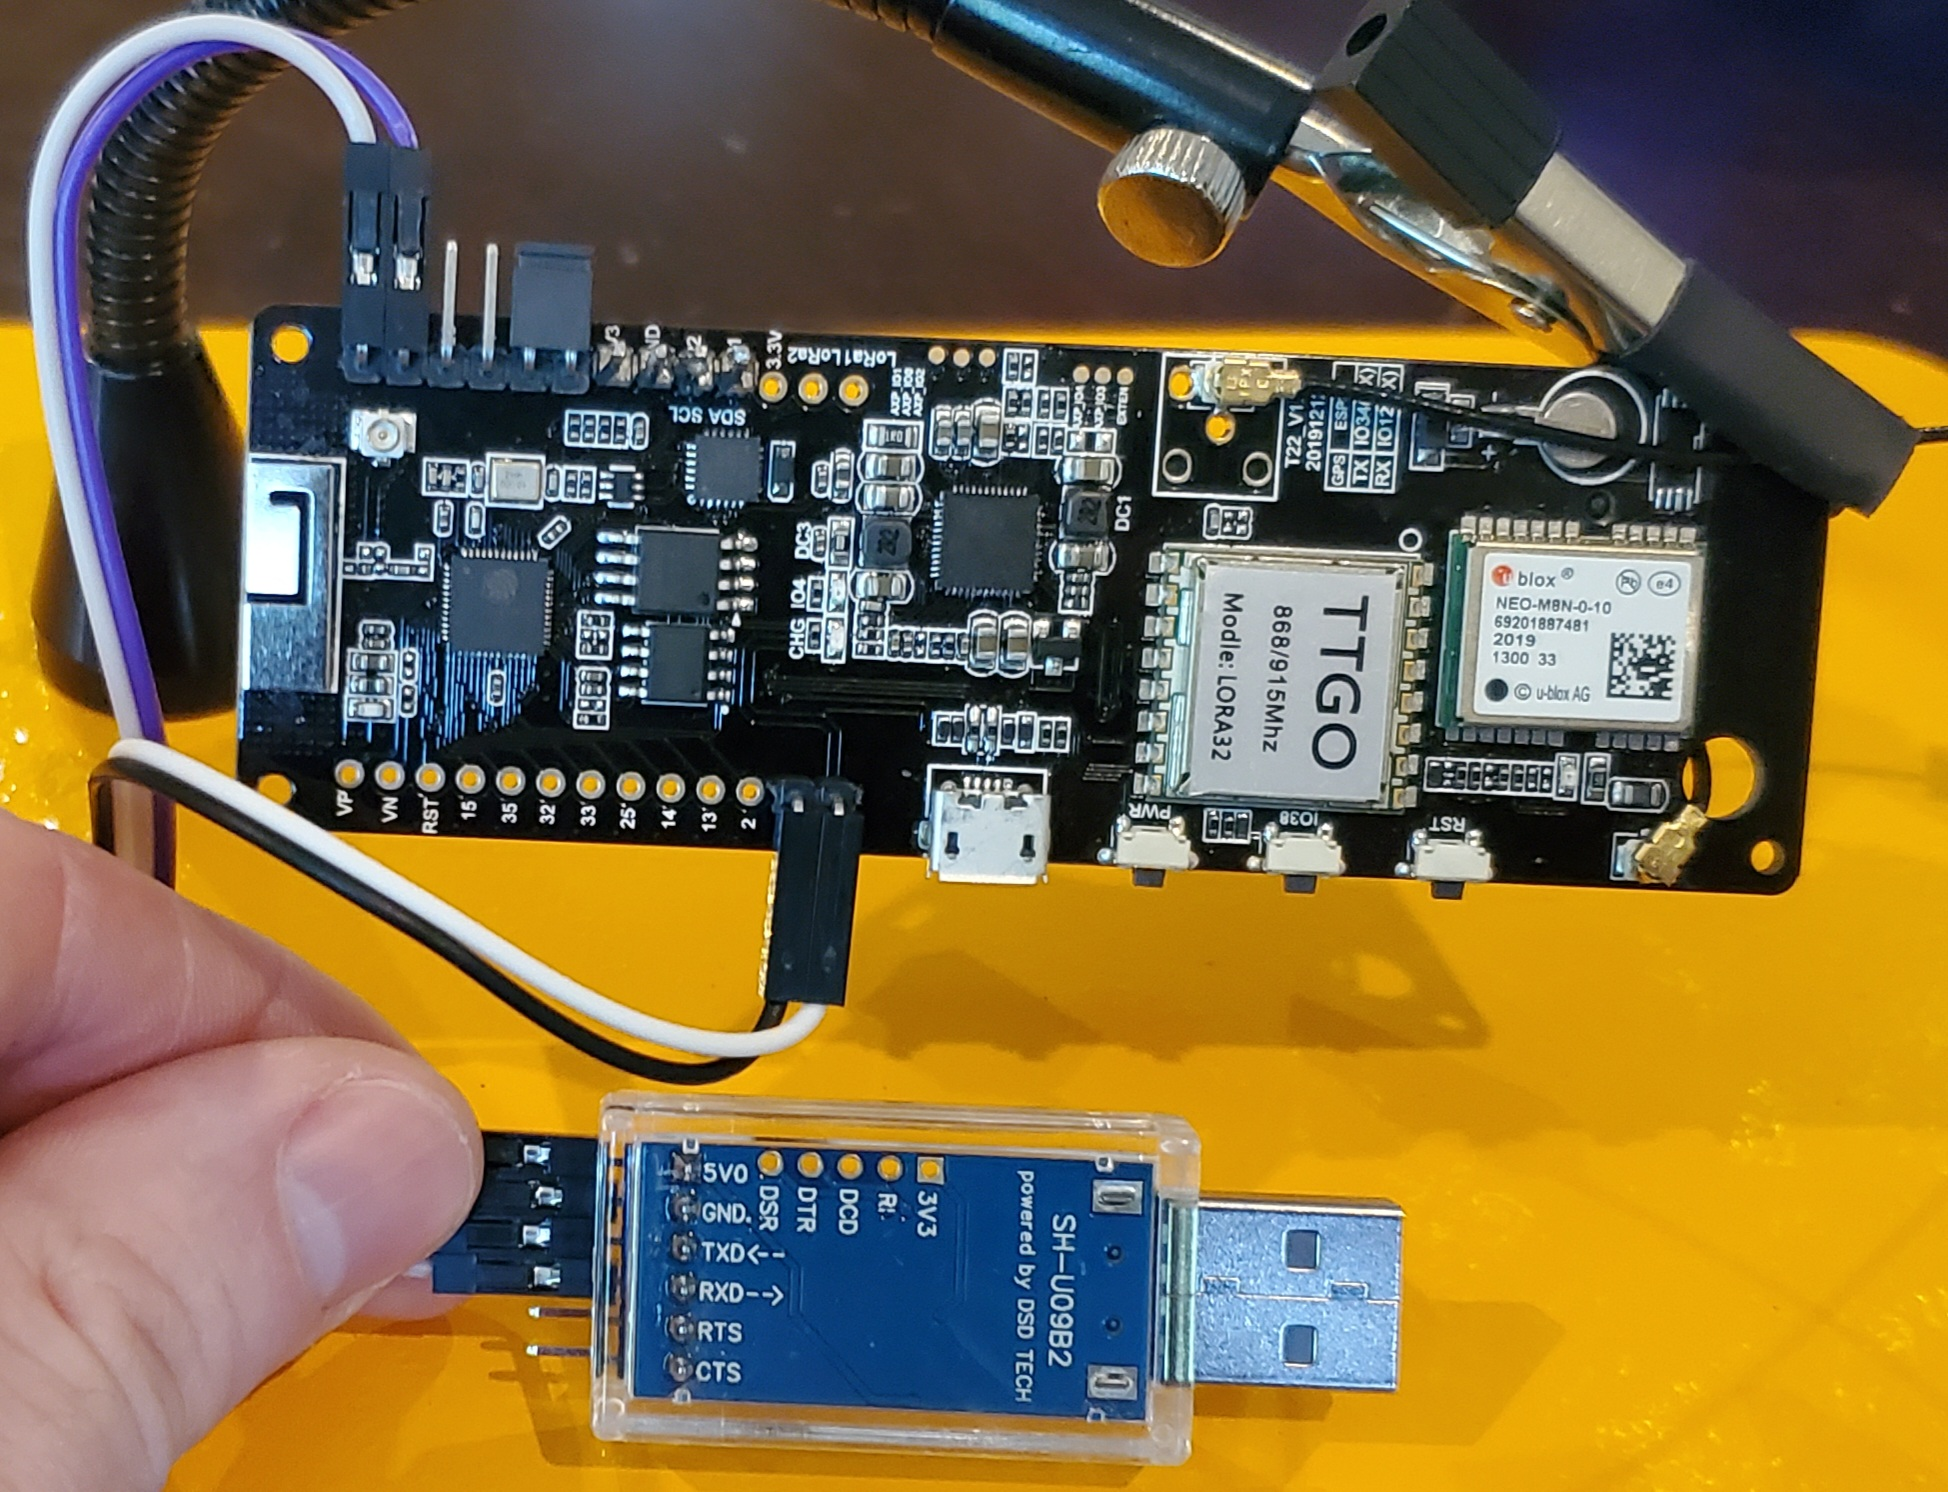
There are multiple ways to connect the pins of the adapter to the target device: pressing jumpers against contacts, using pogo pin jigs, etc. This tutorial features offset dupont headers soldered onto the operative GPIOGPIO (General Purpose Input/Output). An uncommitted digital signal pin on a device. pins and connected via jumpers.
Disconnect your USBUSB (Universal Serial Bus). The wired connection used to power a device, flash firmware onto it, and communicate with it over serial. to Serial Adapter from the computer before starting this process.
- Connect the RXRX (Receive). The receiving of data over the radio link. pin of the adapter to the TXTX (Transmit). The transmitting of data over the radio link. pin of the devices
- Connect the TXTX (Transmit). The transmitting of data over the radio link. pin of the adapter to the RXRX (Receive). The receiving of data over the radio link. pin of the device
- Connect a GND pin of the adapter to the GND pin of the device
- Connect either the 5V pin of the adapter to the 5V pin of the device (illustrated) or the 3.3V pin of the adapter to the 3.3V pin of device.
- Bridge GPIOGPIO (General Purpose Input/Output). An uncommitted digital signal pin on a device. 0 to GND on the device with a jumper. (This places the device into flash mode when the device is powered up)
Example wiring featuring a T-Beam
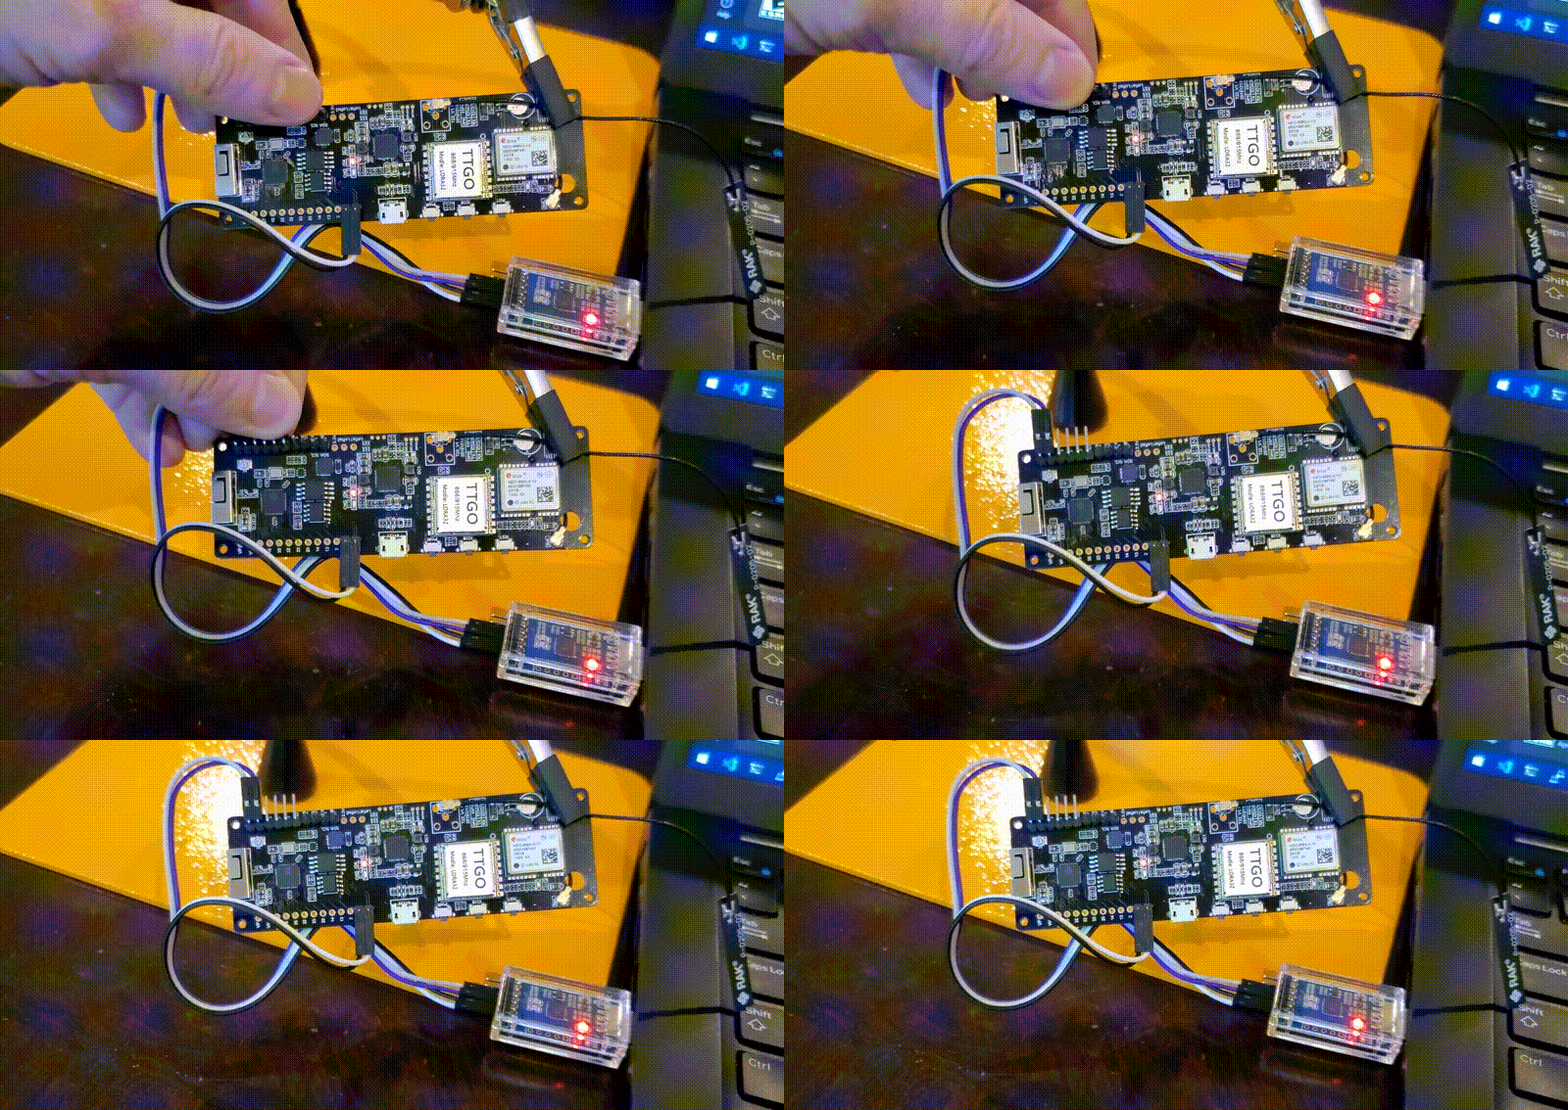
- Connect the device to a USBUSB (Universal Serial Bus). The wired connection used to power a device, flash firmware onto it, and communicate with it over serial. port on the computer
- Remove the jumper bridging GPIOGPIO (General Purpose Input/Output). An uncommitted digital signal pin on a device. 0 to GND
Flashing
After following the steps above, your device should be in flash mode. You can flash your device using the manual method
After flashing the device is complete, reset your device (via the RST button if available).
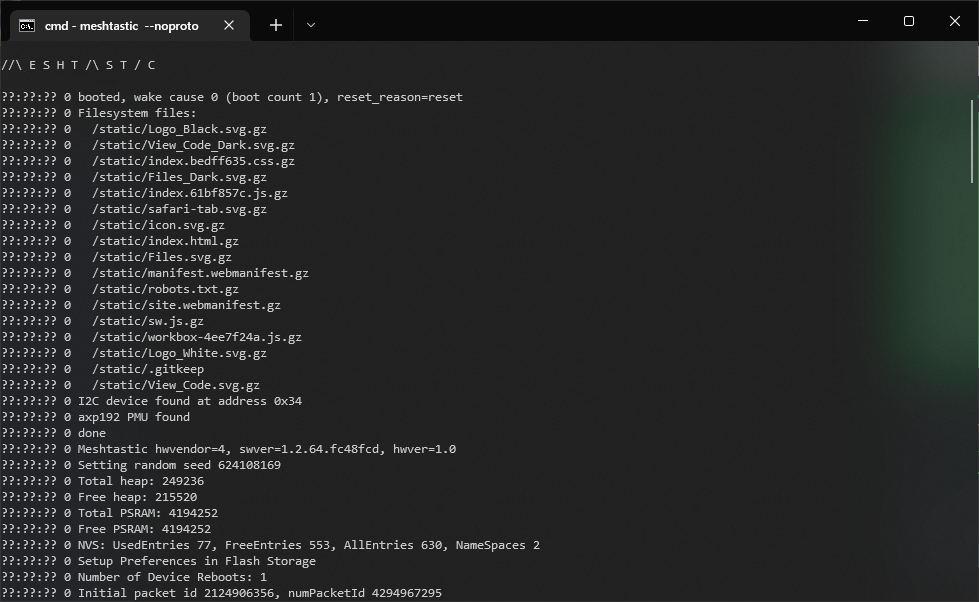
If you have the Meshtastic Python CLICLI (Command Line Interface). A text-based interface used for interacting with software or devices like Meshtastic. installed, you can run meshtastic --noproto to connect the device again over the adapter and view the serial output to confirm Meshtastic installed correctly.
Troubleshooting
You might receive an error for COM port permission in the manual device install scripts, this can be caused by a number of different issues.
You might need to run the process as an administrator, check to ensure software like Cura isn't monopolizing COM ports, or reboot.
Connect and Configure Device
After flashing the Meshtastic firmware to the device, you can proceed with the initial configuration.