Android Application Usage
Introduction
The Meshtastic Android app is your gateway to the mesh. It allows you to manage your radio, send messages, view sensor metrics, and view node locations. The app features a modern interface centered around a bottom navigation bar for quick access to all primary functions.
The navigation bar consists of five main tabs:
- Conversations: Where you can send and receive messages from other nodes on your mesh.
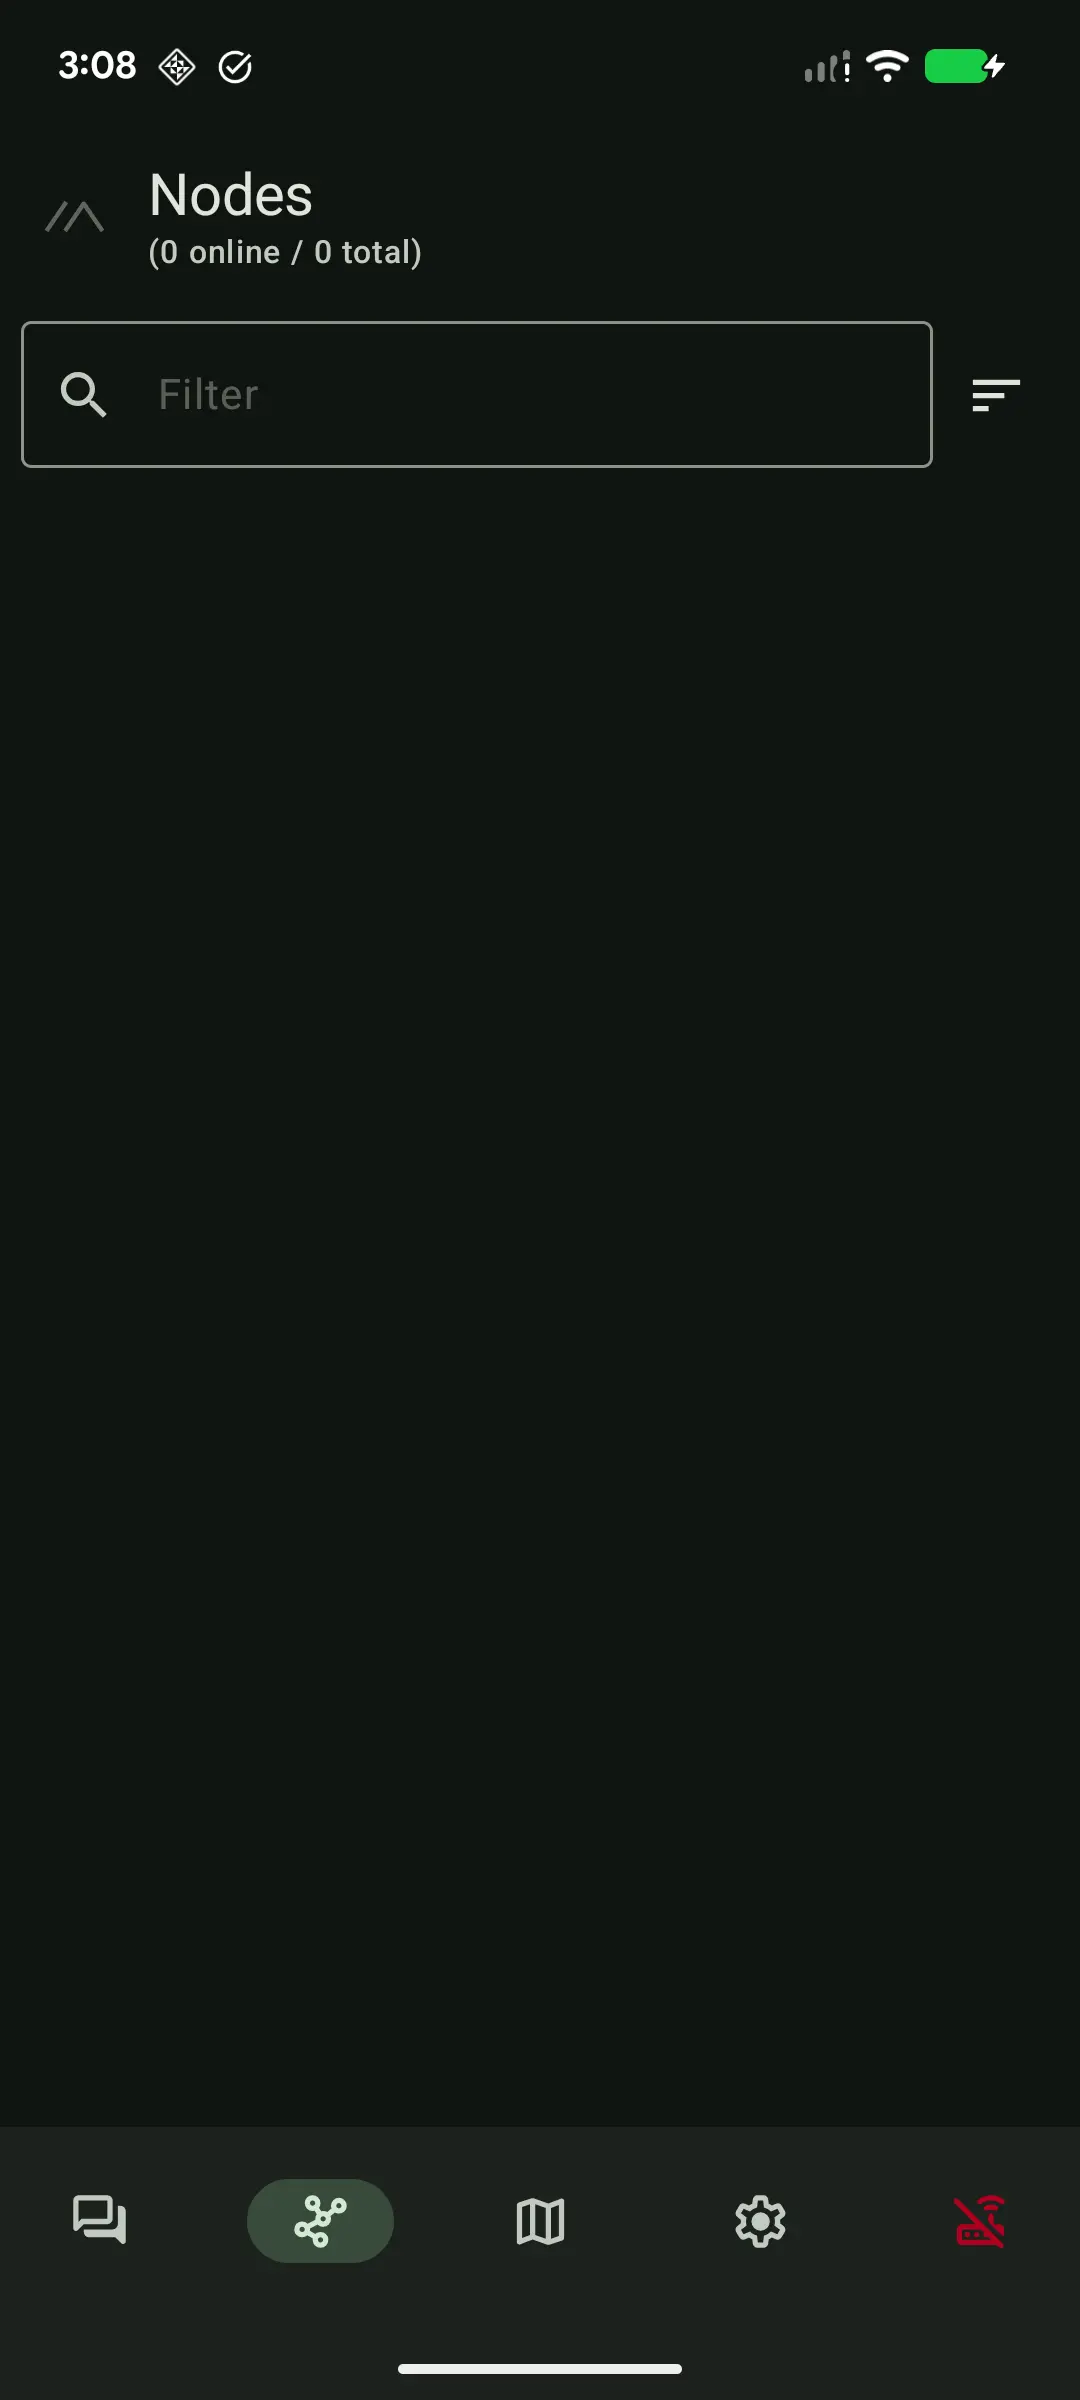
- Nodes: A list of all discovered nodes on your channels, showing their status and metadata.
- Mesh Map: A map view displaying the location of nodes that have a GPS position.
- Settings: All device and application configuration options.
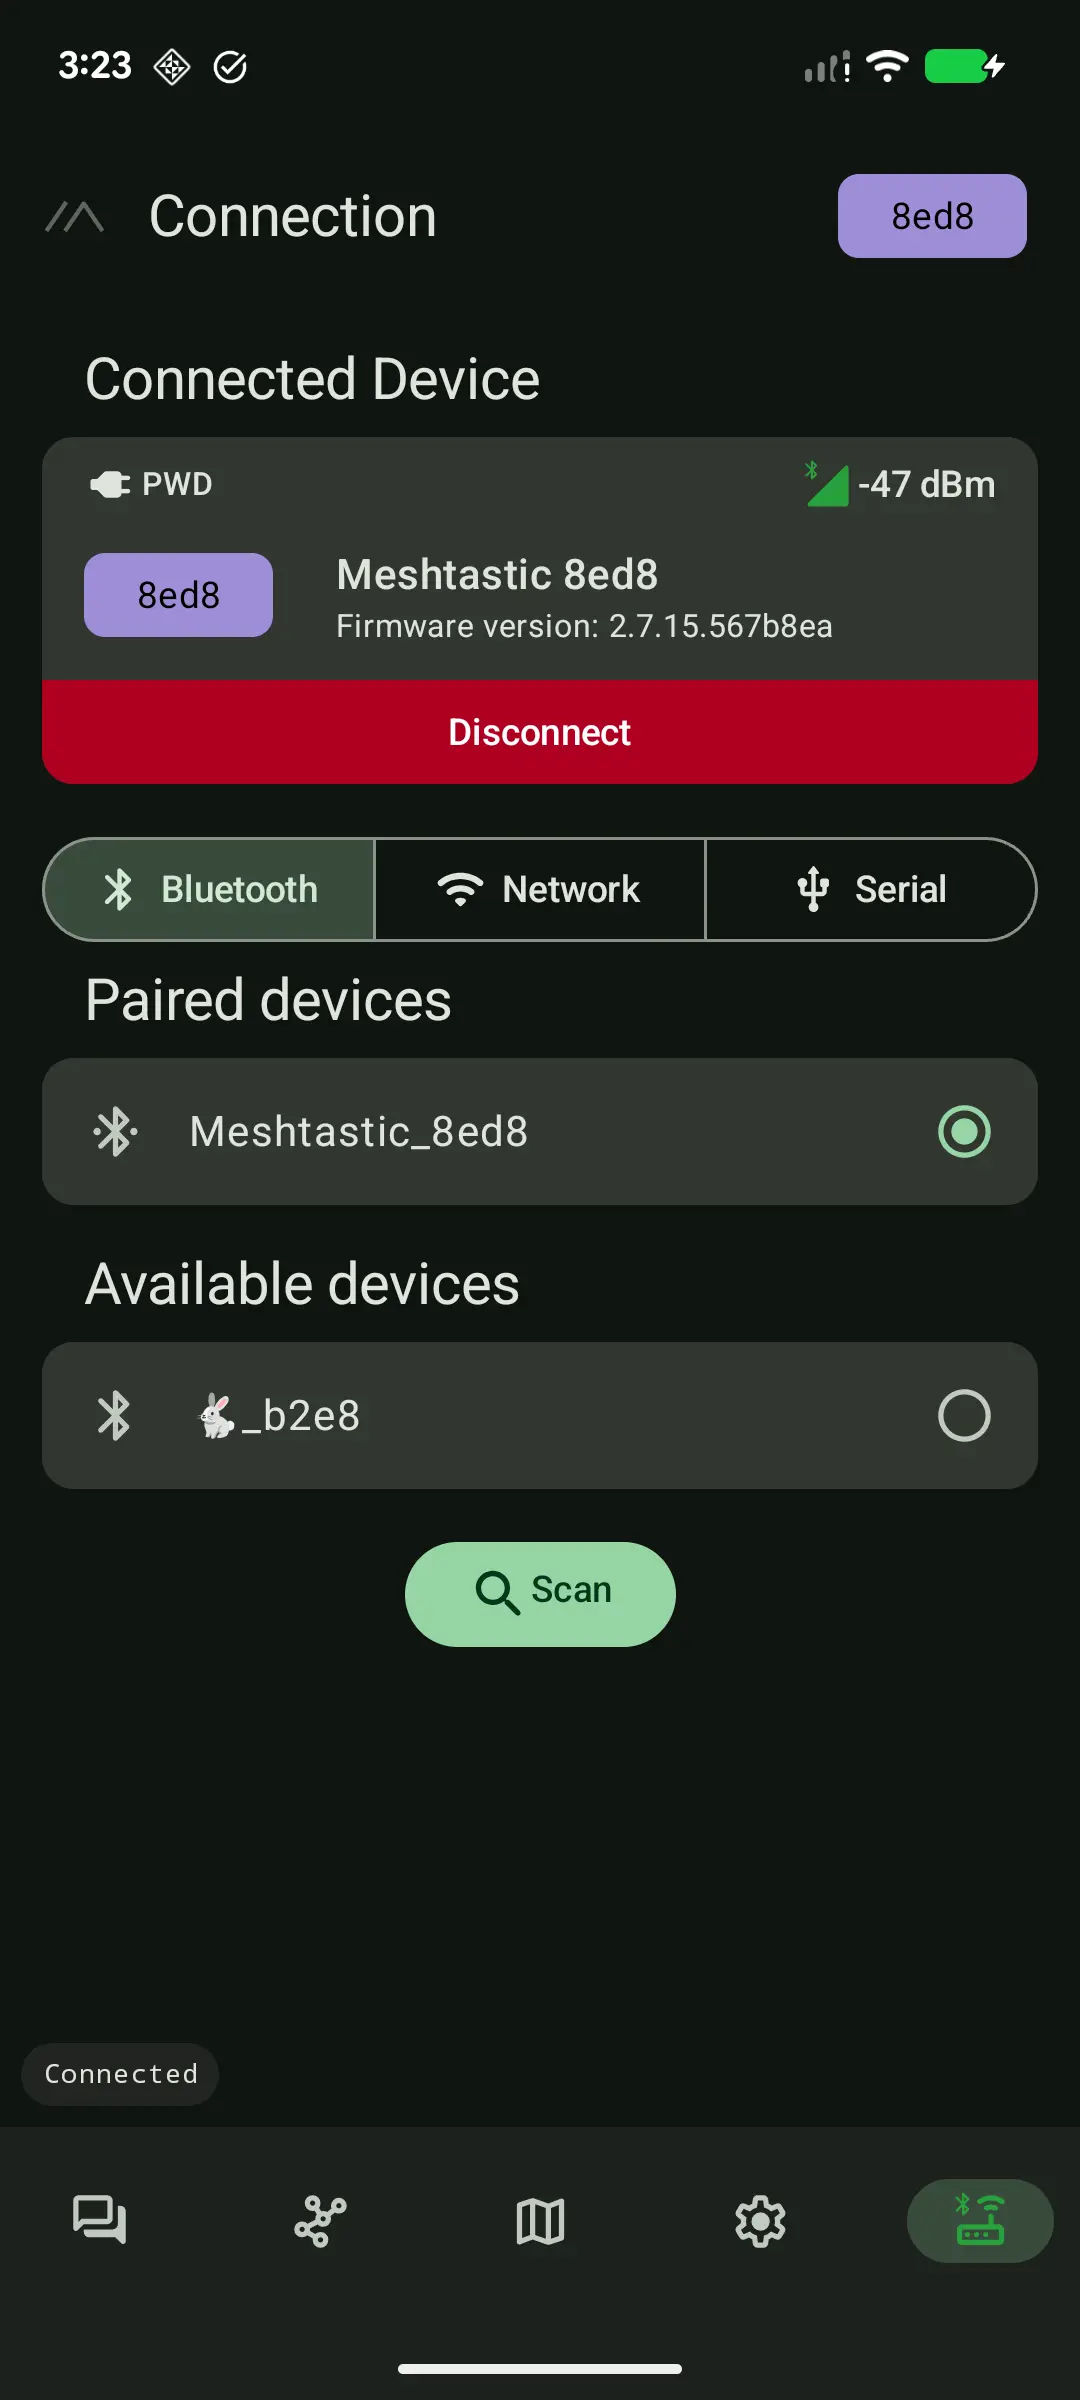
- Connection: Shows the current connection status to your radio and allows you to connect to new devices.
When you first open the app, you will land on the Nodes screen. If no radio is connected, you can proceed to the Connection tab to set one up.
Connecting to Your Radio
To get started, you will need a device flashed with Meshtastic firmware. See the Getting Started guide for more information.
The app can connect to your radio via Bluetooth, Wi-Fi, or USB.
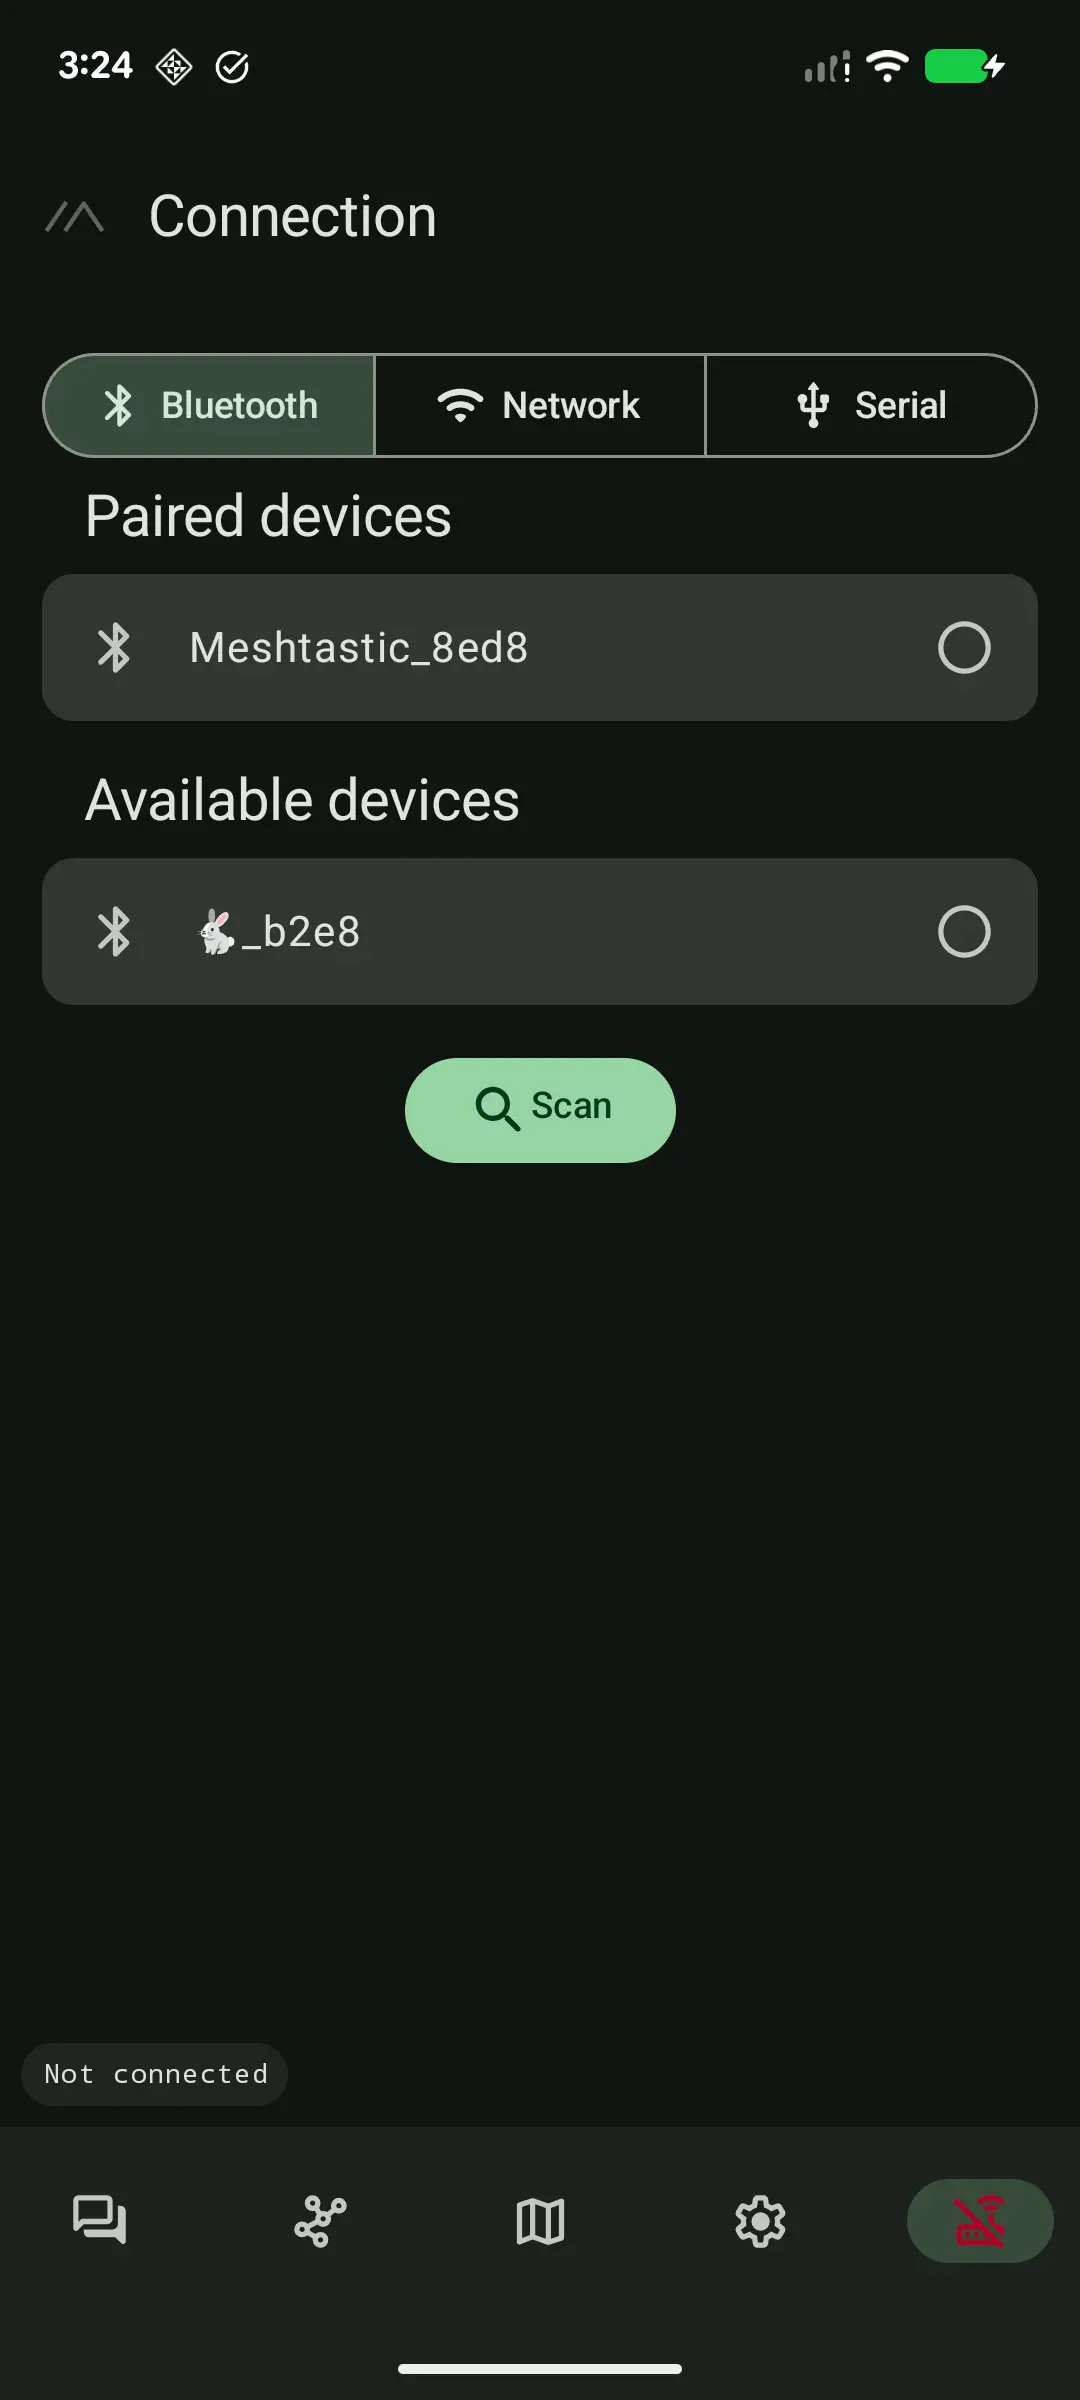
- Navigate to the Connection tab.
- Select the connection method:
- Bluetooth
- The app will list previously paired devices and also scan for new available devices.
- Select your device from the list to connect.
- If you are connecting for the first time, you may need to enter a pairing PIN.
- For devices with a screen, the PIN will be displayed on it.
- For headless devices (no screen), the default PIN is
123456.
- Bluetooth
- Network (Wi-Fi/Ethernet)
- Devices on the same network as your phone should be automatically discovered.
- You can also manually add a device by its IP address.
- USB
- Connect your device to your phone using a USB OTG cable. It should be automatically detected.
If the region is not set on your radio, a "Set your region" button will appear on the connection screen after connecting. This is a required step before you can send messages.
Common tasks
Set your region
If you haven't set a region during the initial connection, you can do so by going to the Settings tab, selecting LoRa, and then choosing your region from the Region dropdown. This setting controls which frequency range your device uses and should be set according to your location. See Region Settings for more details.
Change your name
To change your user identity on the mesh, go to the Settings tab and select User. Here you can set your Long Name and Short Name, which will be displayed to other users.
Set up a channel
To manage your channels, you have two main options to access the Channel screen:
- Navigate to the Conversations tab and tap the Floating Action Button (FAB) with a QR code icon.
- Navigate to the Settings tab and select Channels.
On the Channel screen, you can:
- View and select your current channels.
- Tap "Edit" to modify the settings of a selected channel.
- Reset all channels to their default settings.
- Generate a QR code for your selected channels to share.
- Copy the channel URL to share via other apps.
- Paste a channel URL directly into the input field to import its settings.
For more details on channel management, see the Channels section.
Join a channel
There are several ways to join a channel:
- Scan a QR Code:
- Navigate to the Conversations tab and tap the Floating Action Button (FAB) with a QR code icon, then tap the "Scan" button on the Channel screen.
- Alternatively, go to Settings -> Channels and tap the "Scan QR Code" button.
- Open a Shared Link: If a channel is shared via a link (URL), you can click on the link and choose "Open with Meshtastic".
- Import via URL: On the Channel screen (accessed from either the Conversations FAB or Settings), you can paste a channel URL directly into the provided input field to import its settings.
- Go to Android Settings > Apps > Default apps > Meshtastic > Opening links
- Make sure you have in "links/web address": www.meshtastic.org
- If you see the option "Open the supported links", make sure it is enabled.
After scanning or opening a link, the app will ask for confirmation to switch to the new channel.
Send a message
The Conversations tab operates like most messaging apps. It lists your direct messages and channels.
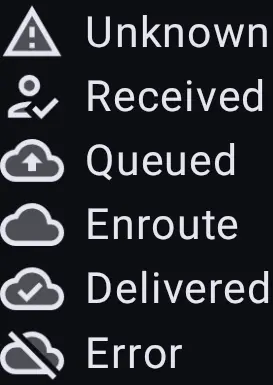
Because LoRa is an unreliable transport, the app includes message delivery status icons. These appear to the right of every message you send:
- UNKNOWN: Not known for this message.
- RECEIVED: Message delivered and acknowledged by the intended node.
- QUEUED: Message waiting to be sent to the mesh as soon as the device connects.
- ENROUTE: Message delivered to the radio, but no ACK or NAK received yet.
- DELIVERED: Message successfully delivered and acknowledged to the mesh (ACK received).
- ERROR: Message not delivered (NAK received or other error).
Long-press a message or contact for more options, such as replying, copying, or deleting.
From the message screen, you can also access Quick Chat options from the overflow menu (three dots in the top right). This allows you to send predefined messages quickly. You can customize these messages in the Quick Chat options screen.
View your network
The Nodes tab shows all the users (devices) that have connected to the same Channel. For each entry, it shows the last time they were active, their location and distance (when available), and their last known power status.
- Tap on a node in the list to view detailed information about it. From the detail screen, you can perform the following actions and navigate to various log and metrics screens:
- Direct Message: Start a one-on-one conversation with the node.
- Exchange user info: Request the node's user information.
- Request position: Request an immediate position update from the node.
- Traceroute: Perform a traceroute to the node to check its path through the mesh.
- Share: Share the node's contact information.
- Logs and Metrics: Access various logs and metrics specific to the node, such as:
- Device Metrics Log
- Node Map (node specific map)
- Position Log
- Environment Metrics Log
- Signal Metrics Log
- Power Metrics Log
- Traceroute Log
- Host Metrics Log
- PAX Metrics Log
- Long-press on a node in the list to open a context menu with these options:
- Favorite: Add or remove the node from your favorites list.
- Ignore: Add or remove the node from your ignored list.
- Remove: Remove the node from your list.
View the map
The Mesh Map tab provides a real-time view of your network on a map. Each node with a known position is displayed with an icon and its name.
From the map screen, you can:
- Change Map Style: Switch between Normal, Satellite, Terrain, and Hybrid map views.
- Manage Map Layers: Add custom map layers from
.kml,.kmz, or GeoJSON files. - Manage Custom Tile Sources: Add and manage custom tile servers for the map.
Configuration options
Most configuration options are now located under the Settings tab. Here you can configure various aspects of your device and the application.
App Settings
- Theme: Allows you to change between light and dark themes, or to select the system default.
- Language: Allows you to select a language for the application's user interface.
- Provide phone location to mesh: Use your phone's GPS to send your location to the mesh.
- Show Introduction: Opens the introduction slideshow.
- Export/Import Configuration: Backup or restore your device profile.
- Export Data/Rangetest: Save logs and range test data to a CSV file.
- Debug Panel: Access the debug panel to see raw packet data and logs.
- Device DB Cache Limit: Set the maximum number of device databases to keep on your phone.
- System settings: Opens the Android app settings screen for Meshtastic, where you can manage permissions and other system-level settings.
Radio Configuration
In the Settings tab, you can find all the radio and module configurations, which are organized into categories:
- User: Set your name and other user-specific settings.
- Device: Configure device-specific settings like the role, screen, and power options.
- LoRa: Configure LoRa parameters like region, modem preset, and frequency.
- Network: Manage Wi-Fi and Ethernet connections.
- MQTT: Configure connection to an MQTT server. ... and many more module-specific settings for features like Telemetry, Canned Messages, and more.